Groopit Getting Started Guide
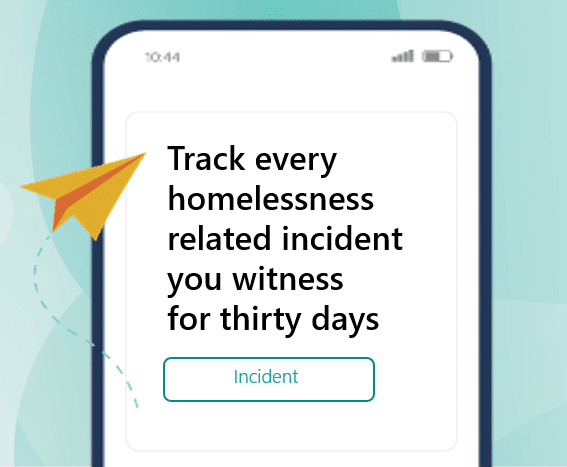
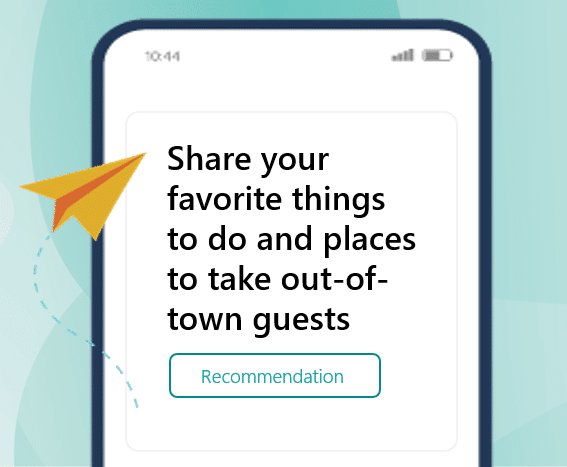
Groopit is the easiest way for teams to get, share, and use data from each other. It works like Waze (yes, the traffic navigation app!), but for business. In Waze, drivers report intel about what is happening on the road with just a few taps. In Groopit, employees report real-time business intel. Everyone involved sees the intel as it’s reported, so they’re in-the-know and can use it to make decisions. Team members simply choose a Data Model to share information in 3 taps and less than a minute. This Getting Started Guide will walk you through everything you need to know about using Groopit, from setting up your first Data Model to sharing data with your team.
Groopit allows administrators to:
- Define the precise data team members should share by setting up Groopit Data Models.
- Store data captured in a feed that can be searched and filtered.
- View aggregate data results and share those views with the team.
- Automatically integrate data reported into enterprise systems like Tableau, Salesforce, HubSpot, and more.
- Download data into a spreadsheet for analysis
Follow the guide step-by-step or tap on a section title to jump to that section.
Brand Your Group
Start by customizing your Groopit on the About page to reflect your brand and mission. Also, add context for your group, such as the purpose, why it matters, and how team members should share data.
Here’s how
The about page editor provides you with the tools to edit your purpose and add visuals and other resource links to your group.
Refine your text: Add and adjust the purpose, why it matters, and data team members should share. You’ll answer 3 questions:
- What is the purpose of your group? Make a short statement about what you’re doing. Try starting with “We are…”
-
- We are working together to…
- We are partnering to…
- We are solving…
- We are discovering…
- We are researching…
If someone were skimming the first sentence of your About page, this is what you would want them to learn.
- Why does it matter? This is where you will explain why they should share data, provide more detail about the data you are trying to collect, and emphasize the importance of their contribution. Keep it concise! This section has a 500-character limit.
- How should people contribute? Explain what the real-time data members will be sharing. These should explain the 3-4 Data Models that people can take to collect the precise data you need.
Add a cover image and icon: Your cover image should be a JPG or PNG and at least 1024 x 576 pixels. It will be cropped to a 16:9 ratio. The image is optional. The about page icon can be any size, but it will be cropped to a square. Keep your icon clean and simple, and try not to use one with lots of text. The small size will make it difficult to read.
Make it friendly: Create a friendly URL that is easy to remember and share. It will eventually look like this: https://app.groopit.co/friendlyname
Link additional resources: Link to your website, YouTube channel, Google Drive, or any other resource through the about page. Just add the text you want to display and remember to include the link.
Choose privacy settings: There are two privacy settings to consider:
- Private: In a private group, all membership requests must be approved by the organizer and each member must have a Groopit account. Members that have been sent an invitation via Groopit will automatically join the group when they accept the invitation and create an account. Prospective members who have a link to the group will still need to obtain membership approval from the group organizer.
- Public: In a public Groopit, anyone with a link and a Groopit account can join. No additional approvals are required. Any member of the group can share the group in Facebook or email. Groopit will create links back to the group. Groopit doesn’t list public groups, so it’s up to the organizer to promote the group to prospective members. The organizer can still control who is in the group by deleting members, but deleted members will be able to rejoin without prior approval.
Define Data for Team to Share
Here’s the key question: What insights do you want your team to share? Think about your parallels to the traffic reports in the Waze analogy. For example, do you want employees to share:
- Competitive intelligence
- Customer successes
- Product feature requests
- Local marketing activity
- Field sales call reports
Explore more examples at https://groopit.co/examples
Once you have decided what data you want your team to share, it’s time to create the Data Models for your team.
Here’s how
Start from scratch or use one of Groopit’s 20+ customizable templates. Get precisely the right data with 9 field types designed specifically for real-time data collection. Add the fields you want, customize their order of appearance, even determine the privacy of data at the field level.
Best Practice: Streamline your data collection so that it can be shared in less than a minute. Team members will be able to share data in real-time, resulting in more accurate data collection.
Create a Data Model: Tap +Create a new Data Model
Add a title: Give every Data Model a 1-3 word title so people will know which one to use.
Add instructions: Write one sentence that explains what to do. Start with a verb and be clear about how to contribute, for example: Share, Capture, Track, Report, Record.
Add an icon: Make it easier for people to find the right data model. Choose an icon or add a custom icon. Custom icons should be a JPG or PNG, 180 x 180 pixels and will be cropped to fit a square. Try https://thenounproject.com to search for or purchase icons.
Add data fields: Data fields are the building blocks of a Data Model. The 9 field types are for pictures, text, tags, location, numbers, date and time, lists, and actions. You can add multiple instances of a field, and place fields in the order you want them. If the user does not enter data into a field when sharing, that field will not display in the report. Most data fields are explained by their titles–pictures, text, location, numbers, date and time. There are two data fields that require a little more information.
- Tags: Tag data fields allow users to contribute data with one touch. Because these tags are organizer-defined, data is collected in a structured way. You create the tags in advance. You can also allow users to select one tag, multiple tags and add tags.
- Lists: Like Tags, lists let people report information with one touch by selecting from a list. You can import a list of options for people to choose from. You can also autogenerate the list using data from other forms. Examples include product names, branch locations, division names, and options where a list is the most efficient way to present choices.
Finally, you can make any data field visible to only the organizer. Sometimes you will want to collect information that only the organizer can see.
Check the settings: There are three settings you can adjust for each Data Model.
- Who can report: Data Models will be set to All Members. If there is a Data Model that only the organizers should see and use, change the setting to Organizer only.
- Status: Data Models are set to Active. If a Data Model only needs to be used at certain times, choose Inactive and when you are ready to use it, re-set it to Active.
Take a test drive: Once your Data Model has a title, instruction, and fields, tap Data, then the title of the Data Model to share an insight. You can always delete the insight. Review it to make sure you are collecting the data you need. Strive for being able to add the data in three taps and less than a minute. Make any adjustments and then you are ready to add team members and collect data.
Edit Data Model template: You can start with a template of pre-defined Data Model. You can edit them to add new data fields, edit tags, or remove data fields.
Search and View Shared Data
The insights your team shares will immediately be available in a lightweight feed and update any aggregate views that have been created.
Search and Filter Shared Data
You can search and filter the data feed to find the precise information you want to dive into and focus the AI.
Here’s how
Search by keyword or tag. Type a word or phrase in the search bar. The Real-Time Data Feed will instantly show results that match and highlight your keyword.
To explore tags: Tap any tag in the Real-Time Data Feed to see all related data using that tag.
Filter the feed to only see shared data from certain Data Models. Tap the “Filter” icon in AI Focus. Check the box by the Data Model that you want to filter, and the feed will only show the data you have selected. You can filter by Data Model, tags, numbers, people or specific dates. You can also update your search within a filtered feed.
Learn more about search and filter (link)
Manage individual insights: Each inisght can be edited, deleted, pinned to the top of the feed and flagged. The organizer and the original contributor can edit and delete any insight.
View Aggregate Data
To empower everyone with real-time information, setup views of aggregate data. You can add views of leaderboards, stack rank, progress trackers, counters, and maps.
Here’s how
Navigate to Views: Tap Views from the main navigation menu
Create a View: Tap +Add a view.
Choose a Data Model you want to create a view for.
Choose the data from the Data Model that you want to share.
Choose the View you want to use. Depending on your data you can choose from a leaderboard, counter, progress meter or map.
Choose who can see the View and what date range to use.
Give your view a title.
Describe what data the view is sharing so everyone will know what aggregate data is being shared.
Add a label so it’s clear what data is being presented.
Tap Publish.
As new data is shared the View will automatically update.
Download Data
With one tap, you can download into a spreadsheet all the collected data.
Here’s how
Tap download data from the Views menu
Groopit will create a .csv or .txt file which includes all the data that has been shared.
Integrate with Slack, Teams and Salesforce
With Groopit Apps designed especially for Slack, Teams and Salesforce, employees can share data from the systems they work in without interrupting the conversation.
Click below for information:
Groopit App for Slack
Groopit App for Teams
Groopit App for Salesforce
Invite People
Invite people to join and then enlist key people as champions to model quality contributions and encourage their peers.
Here’s how
To engage people, you need to invite them to share insights and communicate on a regular basis.
Invite People: There are two ways to invite team members to Groopit:
- Email – From People, tap Invite and enter their email address. Customize the introductory message, if applicable. Groopit will take care of the links and sending the message.
- Via link – Use the friendly link in all your communications.
Accept join requests: If your group is private, every person who wants to join will require approval. Organizers will receive an email when people request to join. Pending join requests will appear for organizers under People. Tap ✔to approve and 🗶 to ignore.
Troubleshoot invitations: Sometimes invitations wind up in junk or spam folders. If a person you have invited to the group is unable to find their invitation, have them check their junk or spam folder for a message from invitations@groopit.co. Users should add groopit@groopit.co and invitations@groopit.co to their safe-sender list to make sure they receive all emails, announcements and other communication.
Encourage contributors to download the Groopit app: Make it easy for everyone to provide real-time data and self-directed actions in the moment with the Groopit app. It’s available for Apple and Android devices.
Add another Organizer: Organizers are the only members who can add or remove members, change settings, create and edit Data Models, edit reports, and download data. You may want to add organizer permissions for another member of the team so they can provide backup if you aren’t available.
Link to Slack or Teams: You can also connect to a Slack or Teams where everyone in the channel will be able to share data without leaving the conversation. Click below for information:
Groopit App for Slack
Groopit App for Teams
Identify your champions across the business. You may have 2 or 102. Choose people from different teams, disciplines, and locations.
Encourage them to model sharing in real-time. They can also encourage their peers to share the data you want collected too.
Recognize Value of Sharing Data
Recognize the value of sharing data and the People contributing it – OFTEN. Whenever someone contributes, lift them up. Employees need to know that the insights they are contributing is valued. You’re helping people be part of something bigger, something that works, and yields results.
Here’s how
Identify who is on point for recognizing contributions – champions, executives, and you.
Recognize contributions in big and small ways
- Acknowledge each contribution – it can be as simple as an emoji.
- Celebrate wins, milestones, and events – it can be done with a simple announcement.
- Tell people when shared data influences decisions – the new marketing campaign, an upcoming pricing review, a product decision – anything informed by the shared insights.
Download the Groopit App
You’ll get better results more frequently if team members can get, share and use data in real-time. Groopit’s mobile app makes it easy to collect data in three taps or less than a minute.
The app is available on the iOS and Android platforms.
Here’s how
Download the iOS or Android application: Encourage everyone on your team to download the Groopit app.
Turn on notifications from Groopit: Use your mobile devices notifications, so you never miss important data.


