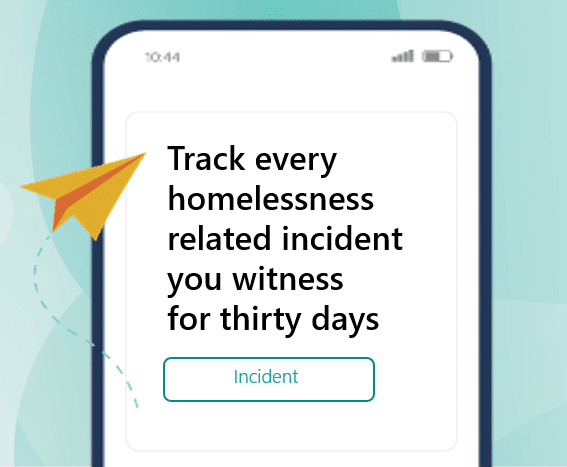
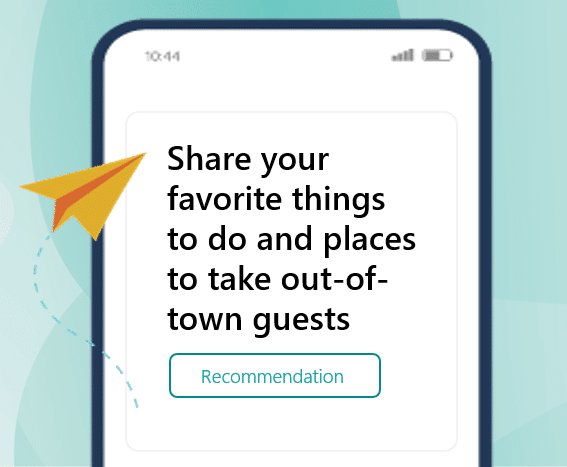
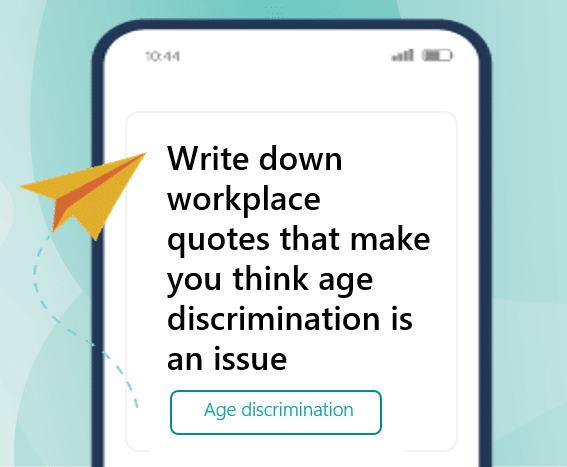
The Groopit app for Microsoft Teams empowers people to share data without ever leaving the conversation. This guide will walk you through the supported features, requirements, installation and configuration.
Supported Features
How to set-up the Groopit App for Microsoft Teams in a specific channel
Groopit Integration Requirements
- You must be an existing Groopit customer to use the Groopit App for Microsoft Teams. (Request a demo to learn more.)
- You must be an administrator for the Groopit you want to integrate.
- Your Groopit email must match your Teams user email. If your does not match, email help@groopit.co
Connect Groopit to Microsoft Teams
Complete Groopit Set-Up
In order to set-up Groopit for Microsoft Teams, you must first complete the set-up of Groopit and be administrator of an active subscription. Please complete the following steps or verify that each step of Groopit set-up has already been completed.
1. Sign up for Groopit using the same email address you use in Teams https://app.groopit.co/
2. Choose “Start a new group” and follow the instructions. Or, if you are already a Groopit Organizer, select from the list of existing groups you organize.
3. Choose “Users” to verify that you are listed as an Organizer.
4. Choose “Share” and +Create a new Data Model to set-up at least one Data Model.
5. Choose “Views” and +Add a view to set-up at least one view.
Once your Groopit has been set-up, it’s time to set-up the Groopit App for Teams. Before proceeding, you have an important decisions to make. Do you want employees to share data from a specific channel(s) or from any channel in Microsoft Teams? Make your choice and then follow the appropriate instructions below.
Complete Single Sign-On (SSO) Set-Up
If your organization uses Azure AD, Okta, OneLogin, or any other OIDC enabled providers, follow these instructions to activate SSO: https://groopit.co/help-center/single-sign-on-configuration/.
Install the Groopit App for Teams to Share from Specific Channels
To let people share from specific channels, install the Groopit App for Teams in those channels.
- Go to the Groopit App for Teams listing to install the app.
- Choose + Add to Teams
- Review the instructions and click Add
- Review the requested permissions, then click Allow. Important: During the installation process, you may be prompted for installation approval from the Teams administrator. Follow the prompts in Teams to secure any necessary permissions.
- Go to the Groopit app. https://app.groopit.co.
- Sign in with your account that has admin privileges.
- Click on the Group that has the Data Models that can be shared in a Teams channel.
- Click on About.
- Click on Settings in the upper right-hand corner.
- Scroll down to the “Set up Groopit App for Teams” section
- Find “Grant permission so Microsoft Teams users can share data from any channel.” and click on “grant permissions on the right hand size of the row.
- This will take you to the Data Sharing page, Click on +Connect new Teams Channel.
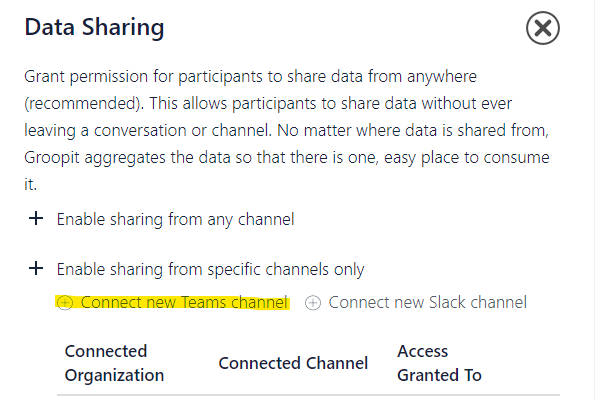
- Confirm that the correct organization is selected.
- Choose the appropriate channel from the drop down list of channels. It can take up to 30 seconds for the channel list to populate, depending on the number of channels in the list.
- Click Add
Sharing insights
Users can now type /Groopit in the Teams search box to share information. They can also tap the + below the conversation box, search for Groopit and select the Groopit app. The first time a person tries to share data, they will be prompted to sign-in to connect their Teams account to their Groopit account. They tap the sign-in button and follow the prompts. Once their accounts have been linked they can re-try /groopit from the Teams search box and the groups and data models they have access to will appear for their use.
Return to the regular installation instructions to finish configuring Groopit
If you need additional information, visit https://groopit.co/help-center/
